JPG vs PNG vs WebP vs AVIF: Which Image Format Should You Use?
A plain-English comparison of the four formats that matter today — how they differ, where each one wins, and how to choose without overthinking it.
What image compression actually does, the difference between lossy and lossless, and a practical workflow for shrinking files while keeping them sharp.
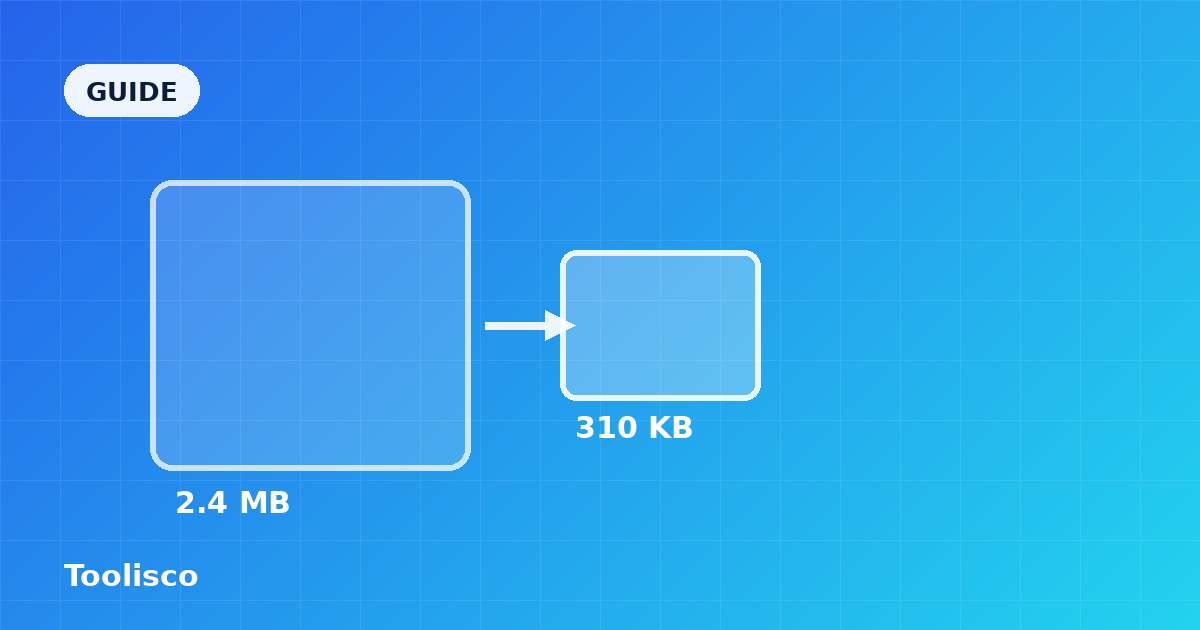
Images are almost always the heaviest thing on a web page. Text is featherweight, scripts are usually modest, but a handful of photos can easily outweigh everything else combined. That is why image compression is one of the highest-value skills you can pick up: shrink your images well and pages load faster, rank a little better, and cost less to serve — all without redesigning anything. This guide walks through what compression actually does, the choices that matter, and a workflow you can apply to any image in a couple of minutes.
Resize first, pick the right format, then compress while watching the result. Every tool linked in this guide runs entirely in your browser — your images are never uploaded.
Compression is the art of storing the same picture using fewer bytes. There are two broad families, and knowing which one you are using changes every decision that follows.
Lossless compression rearranges data so it takes up less room but can be reconstructed perfectly. Nothing is thrown away; the decoded image is bit-for-bit identical to the original. PNG is the format most people meet here. It shines on graphics with large flat areas, sharp edges, and limited colours — logos, icons, screenshots, diagrams.
Lossy compression takes a more radical approach: it permanently discards information the human eye is least likely to miss. Because it is willing to lose detail, it achieves dramatically smaller files. JPG is the classic example, with WebP and AVIF as its modern successors. This family is built for photographs, where subtle gradients and fine texture hide the discarded detail beautifully.
The mental model worth keeping: lossless is a tidier way to pack the same box; lossy is deciding some things in the box do not need to come along.
Before you compress anything, it helps to know what makes an image big in the first place. Three factors dominate.
The first and most important is dimensions — the pixel width and height. This one is quietly responsible for most bloated images on the web. A photo exported at 4,000 pixels wide but displayed in an 800-pixel-wide column is carrying roughly twenty-five times more pixels than it can ever show. No compression setting fixes that waste as efficiently as simply resizing.
The second is format, which determines how cleverly those pixels are encoded. A modern format can store the same visible image at a fraction of an older format's size.
The third is the quality setting on lossy formats, which controls how aggressively detail is discarded. Push it too far and you get the blocky patches and haloed edges everyone recognises as "over-compressed."
You do not need expensive software or a design background. The same short sequence handles almost any image.
Step one: start from the best original you have. Compression only ever removes quality, so beginning with a pristine source gives you the most room to work. Never compress an already-compressed file if you can avoid it.
Step two: resize to real display dimensions. Decide the largest size the image will actually appear at, then double it to stay crisp on high-density screens, and scale to roughly that. This single step often cuts more weight than any amount of quality tweaking. You can do it in the browser with the Image Resizer.
Step three: pick the right format for the content. Photographs want a lossy format; flat graphics want a lossless one. If you are unsure which format you already have or want to switch, the Image Format Converter makes it a one-click change.
Step four: compress while watching the result. Nudge the quality down and compare against the original. Stop as soon as you can see a difference, then step back one notch. The Image Compressor shows the before-and-after size live so you can find that point quickly.
Every image has a threshold where compression artefacts become visible, and the sweet spot sits just above it. Rather than memorising a magic quality number, learn to see the failure modes: blockiness in smooth areas, coloured halos hugging high-contrast edges, and banding where a smooth gradient breaks into visible steps.
Different images tolerate different amounts of compression. A busy photograph full of texture — foliage, gravel, fabric — hides artefacts extremely well and can be pushed hard. An image with large flat areas, gentle gradients, or sharp text shows damage much sooner and deserves a gentler setting. When in doubt, compress in small steps and keep glancing back at the source.
Three errors account for most bad results. The first is compressing before resizing, which spends effort on pixels that get thrown away moments later — always resize first. The second is chasing the smallest possible file until edges and gradients visibly fall apart; a slightly larger file that looks clean always beats a tiny one that looks broken. The third is re-saving the same lossy image over and over. Each lossy save compounds the previous one's damage, so an image edited and re-exported several times slowly degrades even if you never touch the quality slider. Keep a lossless master and export fresh copies from it.
It does not have to. Every tool linked in this guide runs entirely in your browser using the Canvas API, which means your image never leaves your device. That is faster (no upload wait), more private (nothing is stored on a server), and works just as well offline. For a deeper look at the trade-offs, the Knowledge Hub has a companion piece on compressing images without losing quality.
Not necessarily. Lossless compression (as in PNG) reduces size with no quality change at all. Lossy compression does discard some detail, but at sensible settings the loss is invisible. Quality only becomes a problem when you push a lossy setting too far or re-save the same file repeatedly.
There is no single number, but a good rule of thumb is that most in-content photos can sit comfortably under 200 KB, and many under 100 KB, once they are resized to real display dimensions and compressed sensibly. Full-width hero images may be larger. Aim for the smallest file that still looks clean at the size it is shown.
With lossy formats, repeated compression compounds the loss each time, so the image slowly degrades. The safe habit is to keep one high-quality master and always export fresh copies from it, rather than re-saving an already-compressed file.
Compression rewards a little patience. Resize first, choose a format that suits the content, and step the quality down while watching the result — do that and you will ship images that are a fraction of their original weight and still look exactly as intended. Ready to try it? Open the Image Compressor and drop in a photo.
A plain-English comparison of the four formats that matter today — how they differ, where each one wins, and how to choose without overthinking it.

A curated set of small, browser-based utilities that quietly save developers time every week — formatters, converters, generators, and inspectors.